|
Over the past few days I have been spending all of my time working on a new pair of 18th century stays to go underneath the Robe a la Francaise. I used the American Duchess stays pattern as a tentative base, then altered it with the help of extant garments, other historical costumers advice, and a little imagination. Since this project is going to be entirely hand sewn and will take quite a while to complete, I thought that I would make a bit of a step-by-step of how I created them. Please don't take this as a guide to sew your own though, since I'm not focusing on historical accuracy. I just want a mostly accurate shape and a pretty garment at the end of this. 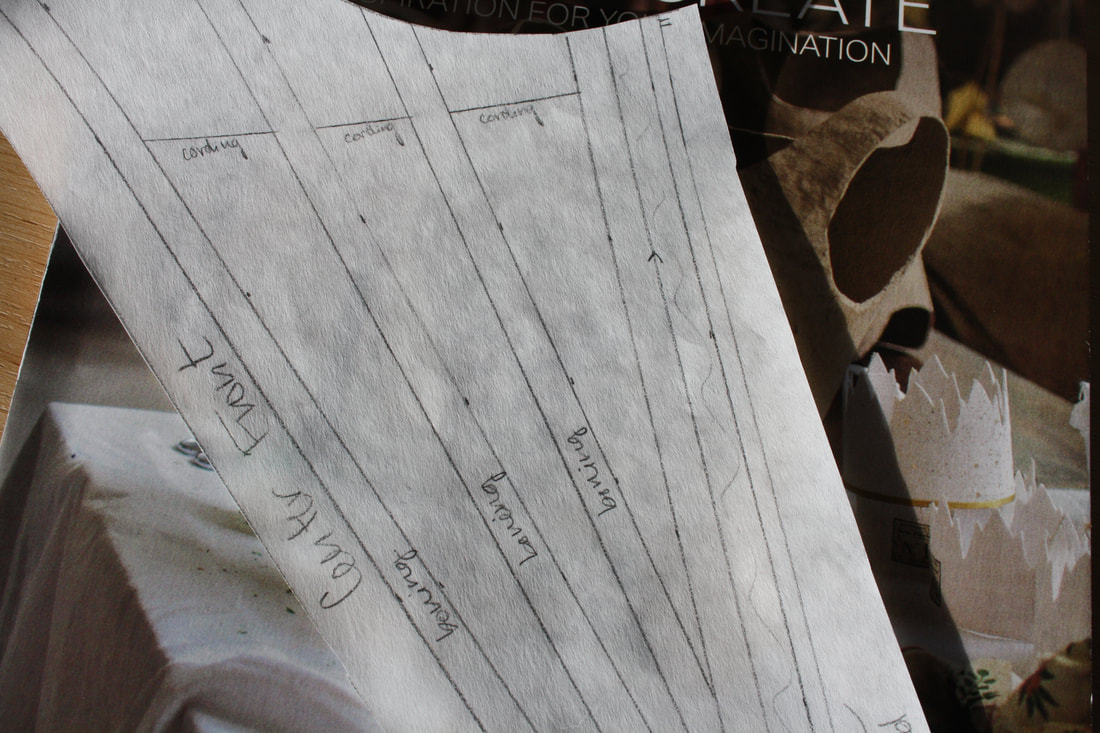 A look at the paper pattern piece of the center front panel 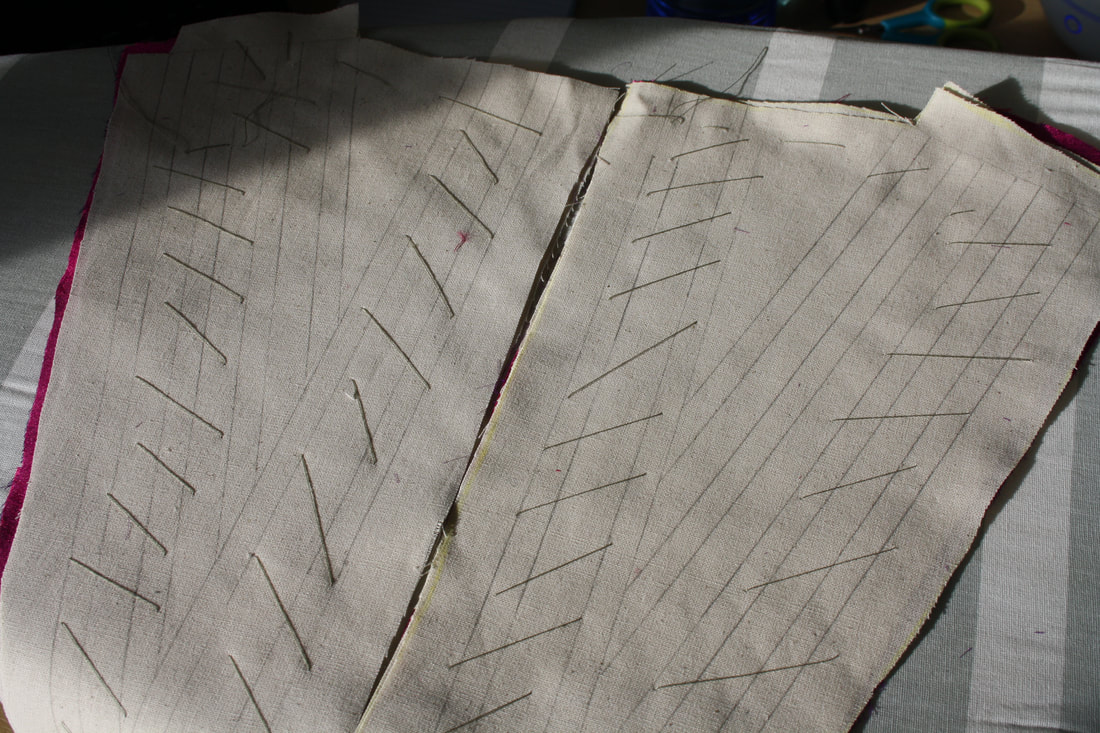 The two back panels of the stays After drafting the pattern on paper and adjusting it a million times to get a better fit (okay, it wasn't a million, but it sure felt like it), I cut out each section for three layers: two inside layers (where the boning will be sandwiched between) and the top silk layer. I then copied my boning pattern onto the inside layer so that I can follow that with my stitching. The boning pattern took me nearly as long as actually drafting the shape of the stays, just because I wanted to make sure that it was both comfortable and efficient. I also wanted to follow a historical example, since seamstresses through history always knew best. It can be pretty difficult to find clear photos of extant stays, but I used this one from the V&A as inspiration, since it doesn't have a front and back lacing. I cut out my front panel as just one piece, so it won't have the option of front lacing. 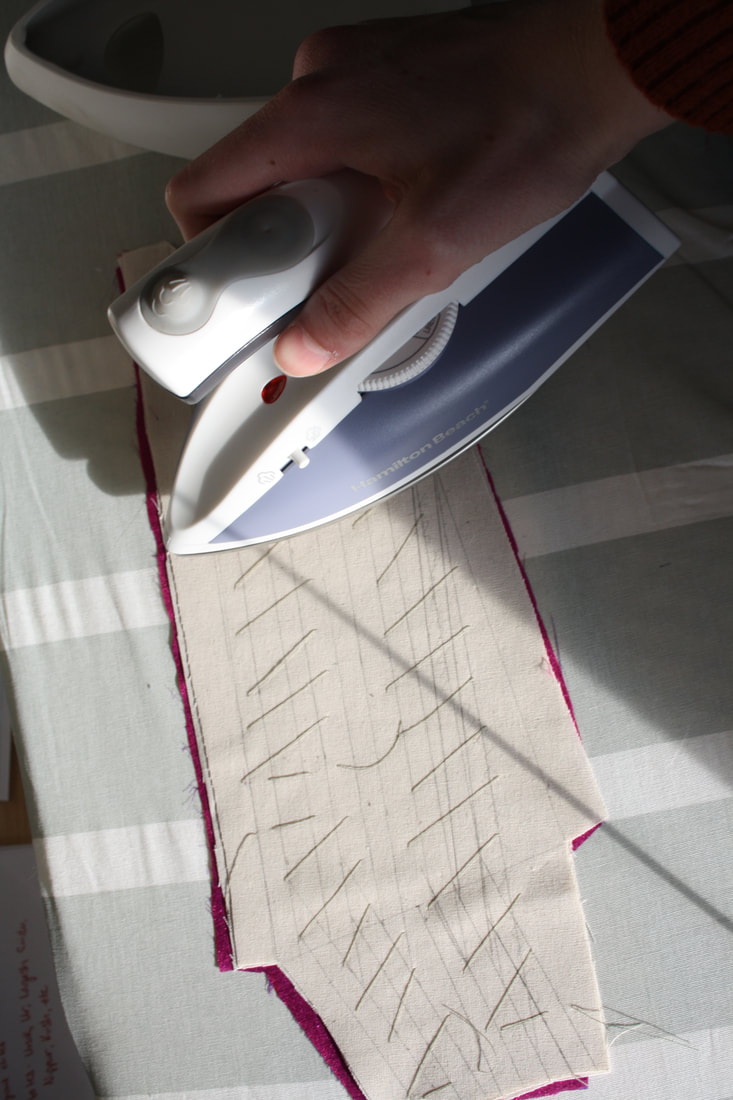 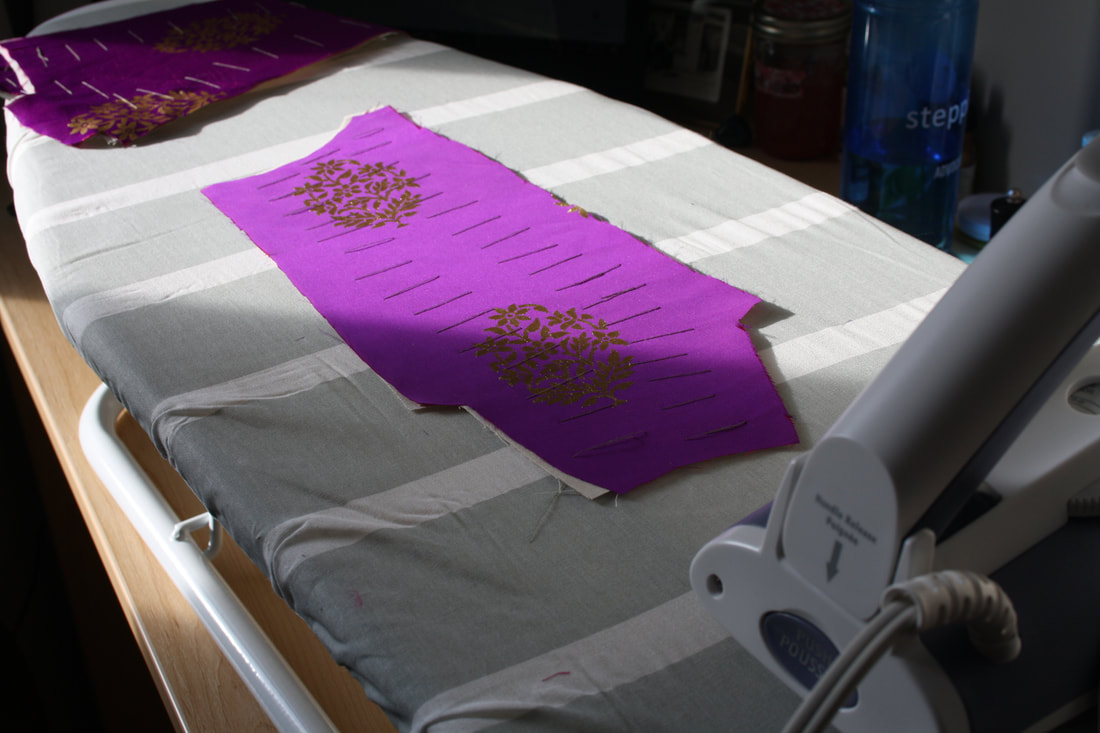 After all of the boning channels are drawn onto one of the inside layers, I pad stitched the layers together. Pad stitching is a type of tailors stitch that bastes two layers together (this is how you attach a non-fusible interfacing). I did this quickly and a bit sloppily, since I just need it to make sure that the layers don't slip while I'm stitching the channels. The sections especially needed it because of how slippery the silk is. I then ironed everything before I started any of the real stitching. 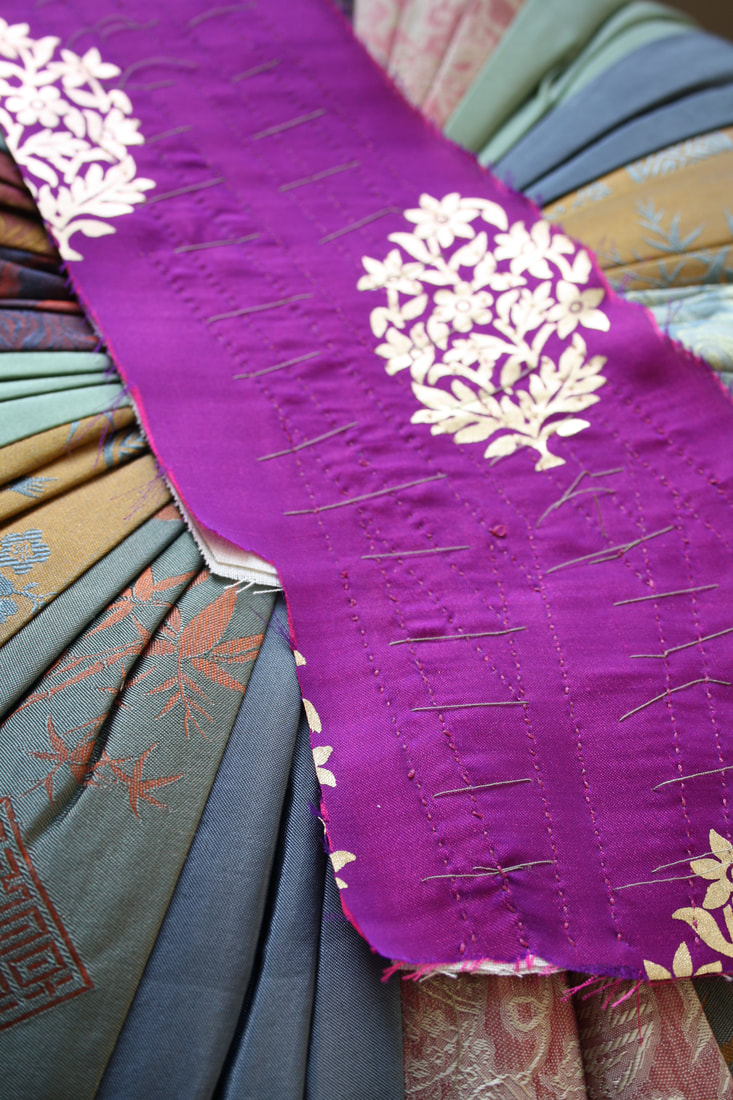 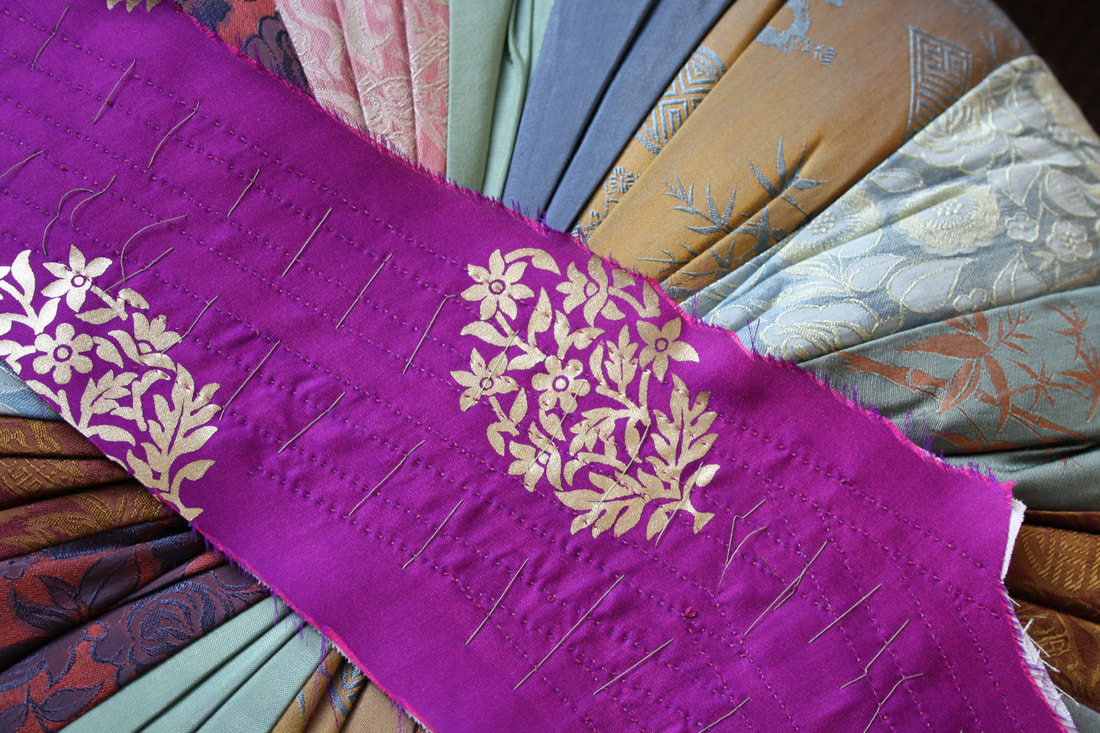 The boning channels in one panel entirely sewn up, but with the pad stitching still in. I will be removing that in a while. Now it is finally time to start on the boning channels! This could be a very tedious process since it is just a running stitch down all of the lines you drew for your boning channels, but I actually really enjoy the process. So far I've watched Crimson Peak, some Ripper Street, and Marie Antoinette while working on my sewing! 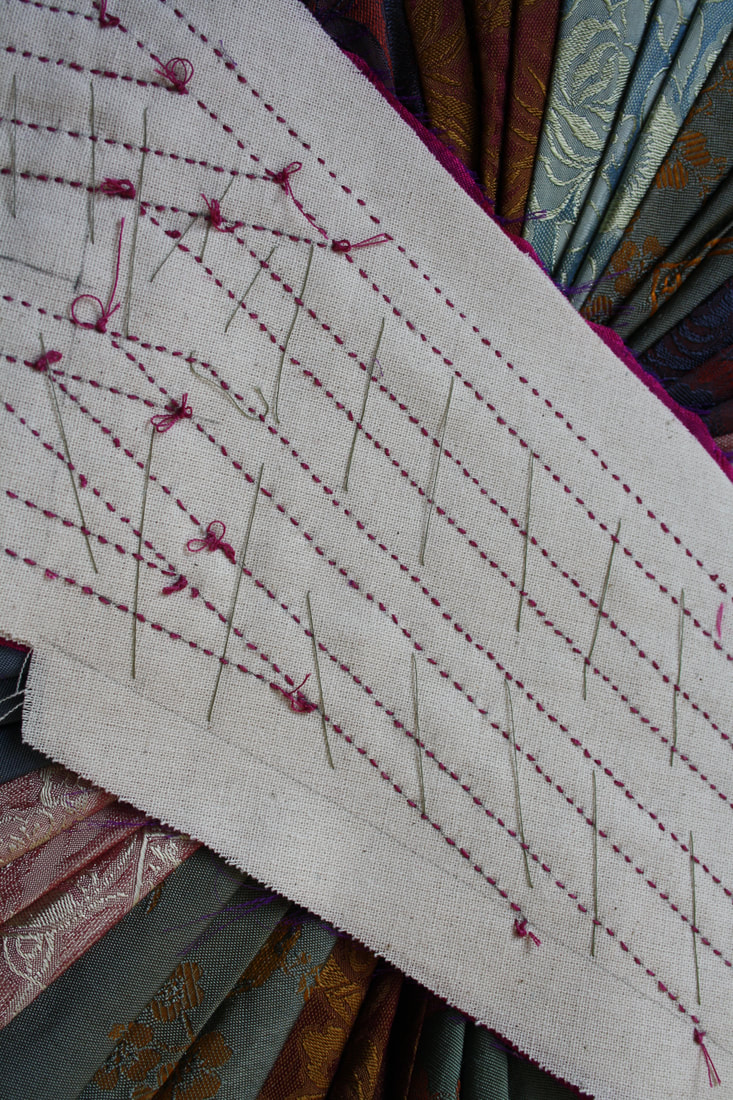 The finished panel from the inside (this will be covered with lining near the end of construction) Before I sign off, I thought that I would talk through a bit of my thought process behind the decisions I've made so far in the process. To begin with, I am including the top layer while sewing the boning channels because I want to see the stitching from the front. I have seen some more decorative stays where the top layer was sewn separately and then attached after the bones were put in, but I love the texture of the stitches and want to be able to see that once the stays are done. Another thing that I would like to mention is my choice of silk that makes up the top layer. I am very aware that it isn't historically accurate (though it does have a vintage flair to it). I decided on this one for a few reasons: one is that I only had a meter of it, so it was the perfect amount for a project like this. Second, I want the final piece to have a bit of a modern Marie Antoinette style, and I thought that this would be a great way to achieve that. Thirdly, I just really like the colour and how it looks! ~K
0 Comments
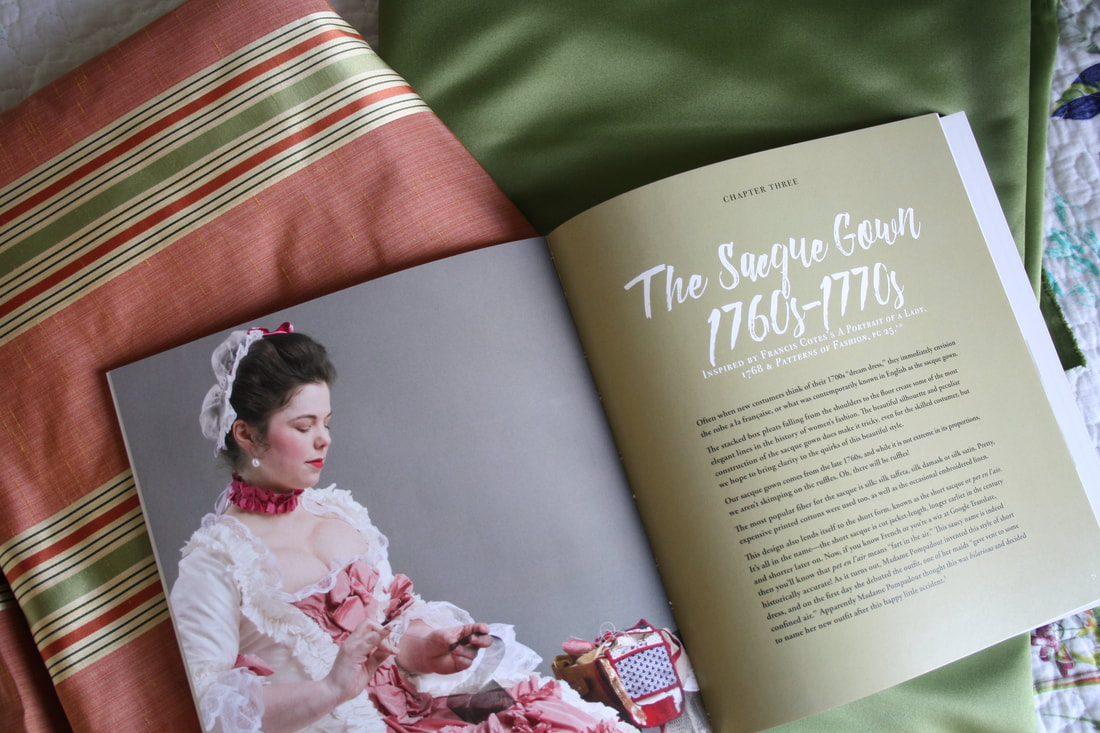 Figuring out a way to sew at school while still having time to do other things that don't involve sitting around has been difficult, but I have found that my passion and desire to make things has been revived! This is fantastic... other than the fact that I still need to do my school work. I have, however, found a way to get both done. Basically, it means that my future projects will include a great deal of hand sewing. Hand sewing has always been something that I enjoyed doing. When I first learnt to sew, it was not on a machine, and I've always found it a bit meditative. There is also the added benefit that I can watch something while doing it, which makes the task go much faster. The greatest draw back is pretty much only how time consuming it is, which is why I haven't had any new projects to post about lately. But do not fear! I have been hard at work both sewing and coming up with new ideas (as I mentioned in my last post), and I am hoping to have new photos coming up somewhat soon. While we wait, I thought that I would share my fabric haul for the projects that I spoke about in my last post. 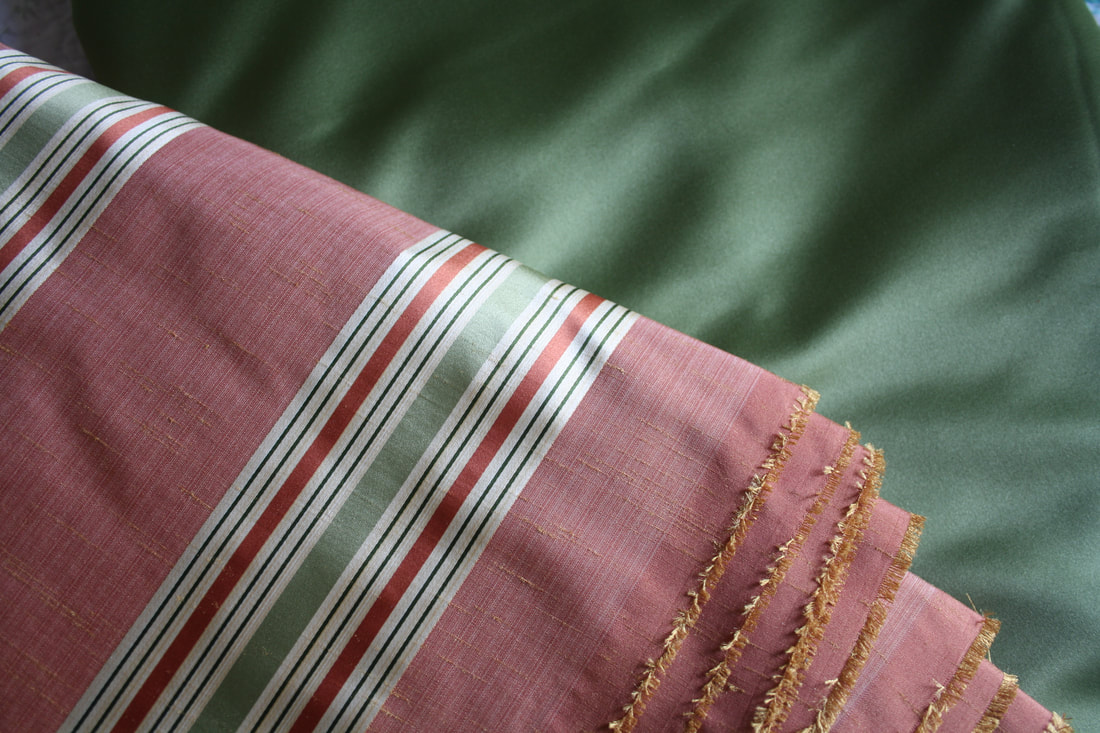 To start off with: the fabrics for my Robe a la Francaise. I have been wanting to make one of these since I first started sewing, and my love for these ridiculous, poofy dresses has not abated in all this time. Although having a fabric with a pattern makes this already difficult to construct gown even worse to drape, I couldn't help myself but pick up this lovely coral, cream, and green striped silk. I thought that these colours looked perfect for the era, and the coral is different from what I usually pick. Plus, I have seen so many stunning striped Robe a la Francaise's that I thought if I could be patient enough, it could turn out to be really beautiful. The green silk is for the petticoat that will go underneath the gown, which will be seen in the split at the front. If I have enough, I would also like to make some ruffles from the plain green to go on the gown and the stomacher. I am so excited to make this ensemble, but before I even start on it I will have to make myself a new pair of stays (the precursor to the corset which gives the wearer a sort of conical shape). My last ones, which I made for my school project a few years ago do not fit properly, and I would like to make a prettier pair this time. I also feel like I have learnt enough in the past few years about both fitting and construction methods that I could really improve the shape. 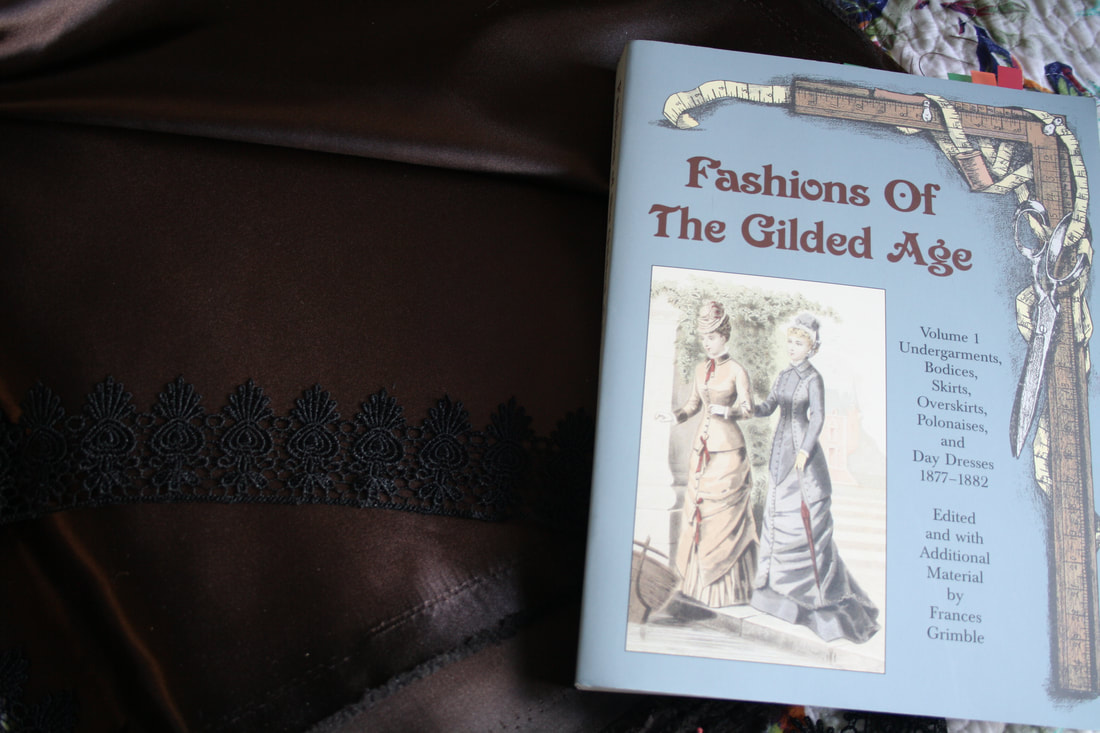 It took me quite a long time to decide on the colour for the Crimson Peak inspired gown, but I finally settled on this chocolate brown silk. I knew that I wanted a rich jewel tone, but I also didn't want to copy exactly one of the dresses from the movie. This isn't a cosplay, it's just inspired by the lovely natural form era styles and slightly morbid undertones. I also found a black lace to go with it, though I haven't decided where that lace will go yet since I haven't fully figured out the design. I would like something that comes across like an evening gown, but I also want long sleeves (like Lucille wears in the movie). During that era, evening gowns would not have long sleeves, so I either have to play with history or change the main idea. 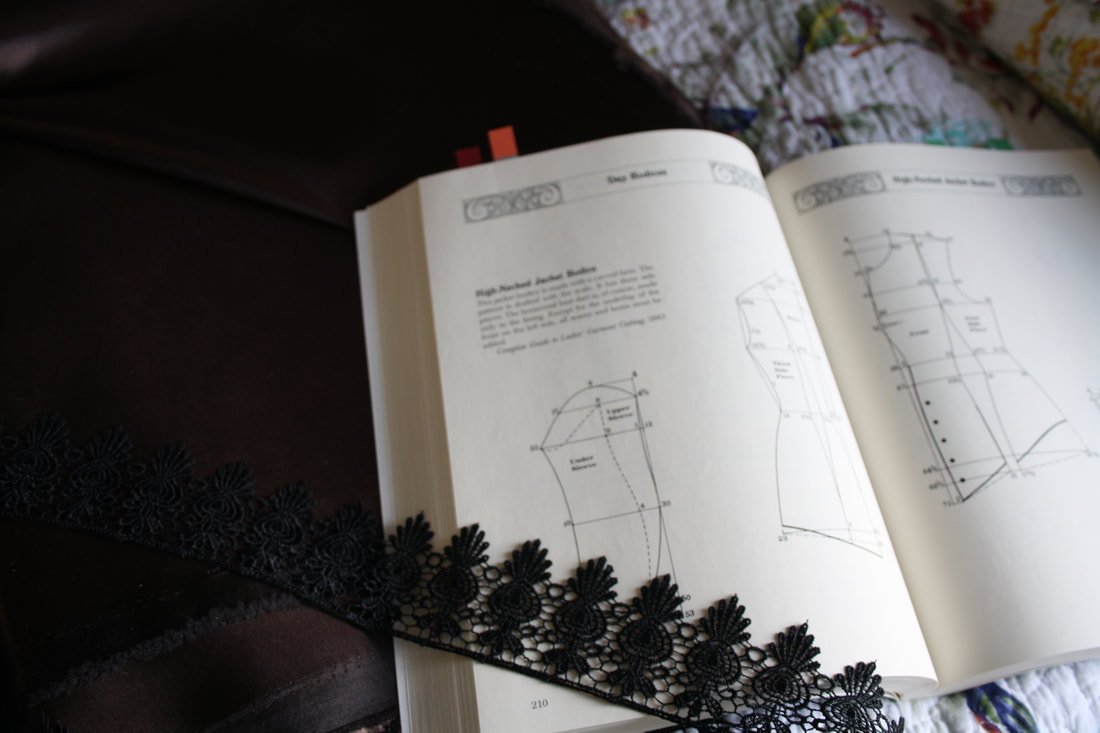 I am also very excited for this project because I finally get to use a book that I have been drooling over for months now. I will be using patterns (with some alterations, like I always do) from the book Fashions of the Guilded Age: Volume One by Frances Grimble. This book is filled with patterns from the late 1870s and excerpts from fashion magazines of the era. Since I can't seem to make it easy for myself, I will need new undergarments for this dress as well. Along with a petticoat (with a train, to keep the train of the dress clean), I will need to make another corset. I haven't really touched this era yet, so I can't wait to play around with it. 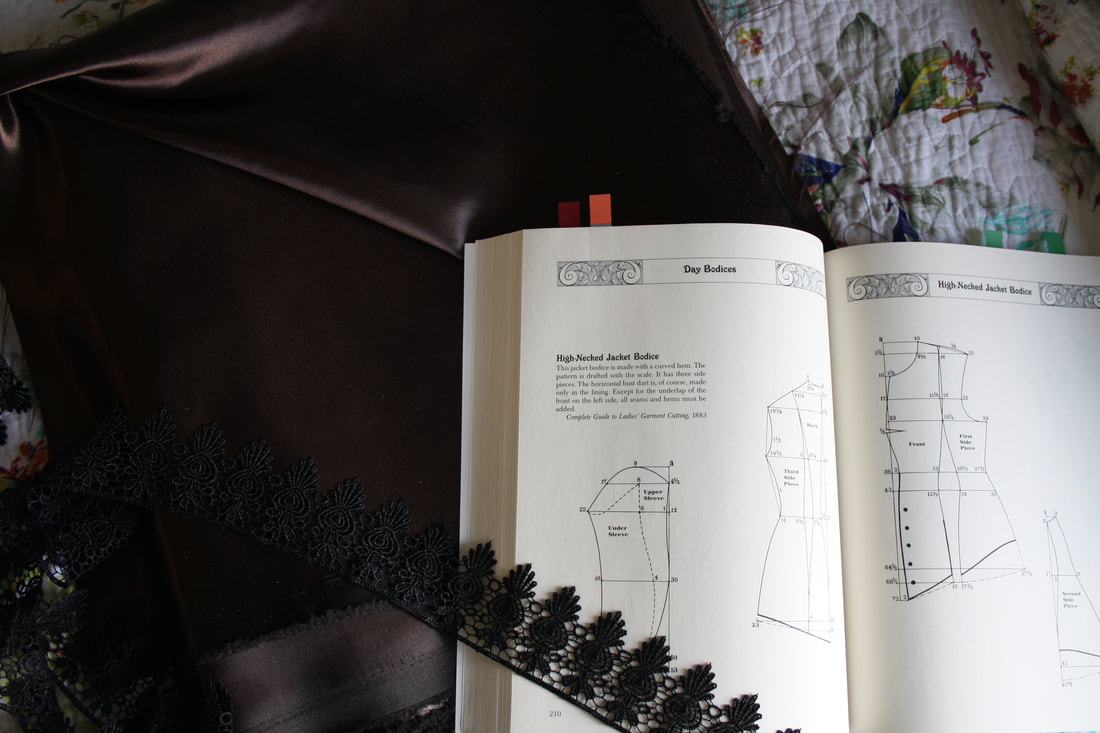 Hopefully my progress isn't too slow over the next few months, and that you are as excited for these projects as I am!
~K |
EtsyArchives
April 2020
Categories
All
|
 RSS Feed
